Make Your Own Soap (DIY)
Making your own soap is pretty easy and there are countless ways to do it. You can pick your own scents, you own colors, and more. You even know exactly what it is that is going into the soap. The soaps you make can even have different healing properties. Keep reading to learn how to make your own soap at home.
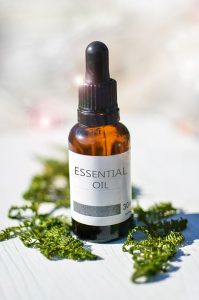
Essential oils like lavender, eucalyptus, orange, and more all have healing properties
When making your own soap, you do not have to worry about what chemicals are being put into it. While the bottle or bar wrapping claims that it is going to moisturize your skin or clean your pores, soaps made in factors can be bad for your skin and even irritate it. If you have sensitive skin, this might be a better option for you.
The Melt and Pour Method
To make soap using the melt and pour method is probably the most widely used because it is most likely the easiest. In a way, it is like making a cake. You mix everything together, put the soap in a mold and then you let it settle and you are done with the whole thing once the soap hardens. It goes a little more in-depth than that, but that’s the basics.
This method of soap making gives you so much freedom; everything is to your preference. You pick the scent, the color, the number of ingredients you use– everything.
Here is a list of things are you going to need to make your own soap:
- A clean place to work
- A microwave safe bowl
- Coloring (natural or food coloring)
- Whisks or spoons
- Essential oil(s)
- A base soap
- measuring spoons
- A mold
Silicon molds of any shape will work well for making soap
As stated above, you get to pick everything. All that you need to do is melt the base soap, add in the essential oils for scent, coloring (optional), and whatever else you might want (some people put glitter in their homemade soap).
Once you have everything mixed up and smelling the way you want, you pour it into the mold(s) and wait for it to harden. After the soap hardens, all you have to do is clean up and you are done.
Lye Warning
Some of these soap recipes are going to call for something called lye. Lye is a chemical that can burn through a lot of different substances, including skin. So when working with lye, make sure that it is the crystal form and that you wear protective gloves and eyewear.

Wear kitchen gloves like these when working with lye so it does not get on your hands
How to Make Your Own Soap
There are several types of soaps that can be made with ease– and with wonderful natural ingredients. Below is a basic great soap recipe that you can try to make at home. Feel free to add in whatever essential oils or coloring you would like. To learn more about natural dyes, check out our article on how to dye Easter Eggs naturally. The same color-dying properties apply when making soap.
Beginner’s Lye Soap
The ingredients you are going to make this basic soap are listed below:
- Water 200 grams (7 oz.)
- Lye 85 grams (3 oz.)
- Coconut oil 100 grams (3.5 oz.)
- Extra virgin olive oil 510 grams (18 oz.)
- Essential oil(s)
- Food coloring/natural coloring (optional)
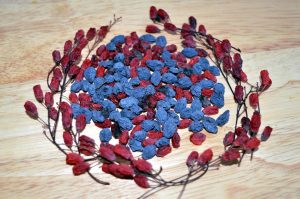
Adding pureed berries, like barberries, can add both color and scent to your soap
Instructions
The first step is best to go outside because it can get smelly (not in a good way) and the scent can linger a bit. Get a bowl that can take the heat and stir the lye into the water; this means that you are actually pouring the lye into the water, not the other way around. Once it is mixed in, leave in a safe place to cool.
While your lye/water mixture is cooling, you can mix together all of your oils, excluding your essential oils.
Once you have all of the oil mixed together, you should slowly mix them into the water and lye. Make sure that you start out gently and keep the mixture in a place where the lye cannot damage anything. Some people say that placing the bowl on the bottom of the sink works well.
After the lye/water and oils are mixed together, you can start mixing with a hand beater (which is why you should this where the lye cannot harm anything if it splashes over). When you get the mixture of oils, lye, and water to a mayonnaise-like consistency–, that is when you can add the essential oils and/or coloring. After you add in the essential oils, you can pour the soap mixture into molds.
With the soap in the molds, the best results are had when you cover the hardening soaps with a hand towel for 24 hours. After 24 hours, they should be hardened. Taking them from the molds (if the molds did not have abnormal shapes to them) you can get the soap into bars or whatever shape you desire.
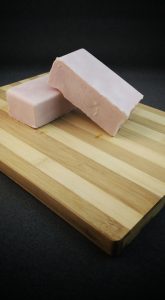
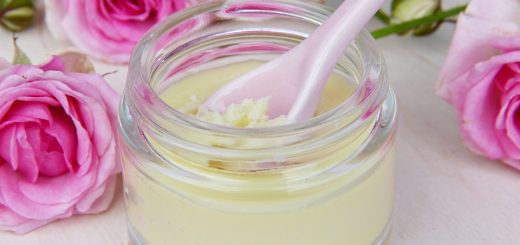
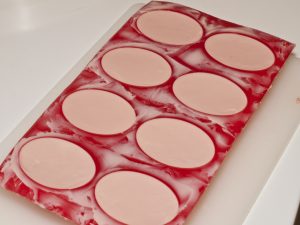
When you are done, your soap should look something like this
Has this article inspired you to make soap? If so, comment below!
Sources
https://www.thesprucecrafts.com/how-to-make-soap-517084
https://thethingswellmake.com/making-a-basic-beginner-soap-and-then-making-it-fun/